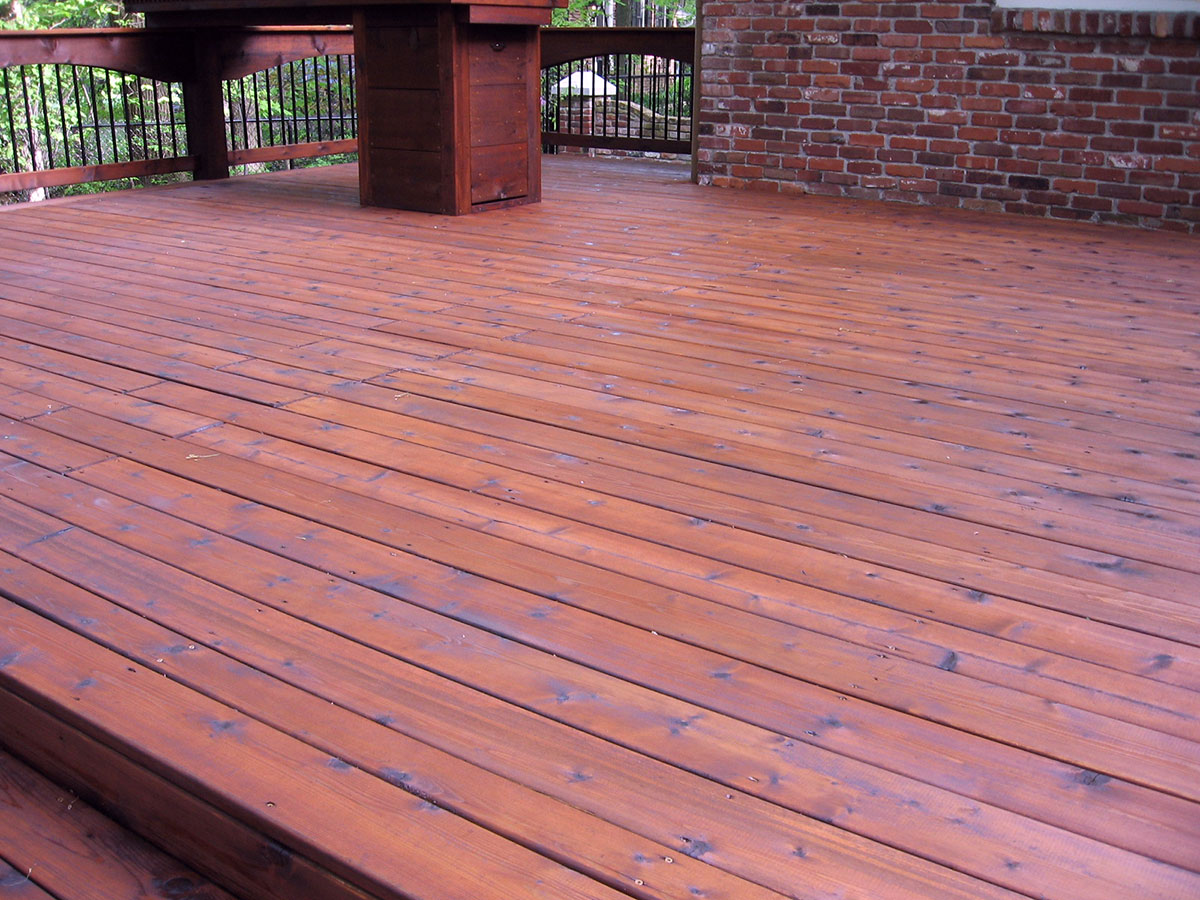
Welcome to the world of timber decking restoration, where worn-out decks are transformed into stunning outdoor retreats!
If your once-beautiful deck is now showing signs of age, worry not – this ultimate guide is your go-to resource for reviving its former glory. We’ll delve into the nitty-gritty of professional timber Decking restoration Melbourne service, uncovering the secrets to breathe life back into weather-beaten boards.
Whether you’re a seasoned DIY enthusiast or a first-time deck restorer, join us on this journey as we unravel the steps to transform your outdoor space.
Get ready to rediscover the joy of lounging on a revitalised timber deck, where each step is a testament to craftsmanship and care.
Assessing the Condition of Your Deck
Before embarking on any Decking Restoration Melbourne project, it is crucial to assess the recent condition of your deck. This step will guide you in determining the extent of the repairs, maintenance, and restoration needed.
Inspect the foundation
Start by examining the foundation of your deck. Look for any signs of sinking, cracking, or instability. Pay attention to the support posts and footings for signs of rot or damage. Any structural issues with the foundation should be addressed immediately to ensure the longevity of your deck.
Check the decking boards
Examine each decking board for signs of decay, rot, splintering, or warping. Pay close attention to the areas near the edges and any exposed nails or screws. Damaged or deteriorated boards should be replaced to maintain structural integrity and enhance the deck’s appearance.
Inspect the railing and balusters
Carefully inspect the railing and balusters for any signs of damage, such as broken or open components. Ensure that the railing is safely attached and that the balusters are evenly spaced. Repair any damaged parts to prevent accidents and maintain the safety of your deck.

Check for signs of mould or mildew
Look for any signs of mould or mildew growth on the surface of your deck, especially in areas that lack drainage or excessive moisture. These fungi can not only affect the aesthetics but also compromise the durability of the deck. If mould or mildew is present, consider using a suitable cleaner or solution to remove them effectively.
It is important to address any issues promptly to prevent further deterioration and maintain the beauty and longevity of your deck.
Restoring the Wood Surface of Your Deck
Restoring the wood surface of your deck is an essential step in maintaining the deck’s beauty and prolonging its lifespan. Over time, exposure to sunlight, rain, and foot traffic can cause the wood to become worn, faded, and damaged.
By following the proper decking restoration Melbourne techniques, you can bring back the natural charm of your deck and protect it from further deterioration.
Cleaning the Deck
Before starting the restoration process, it is crucial to clean the deck thoroughly. Use a deck cleaner specifically prepared for wood surfaces, following the manufacturer’s instructions. Begin by cleaning away any loose dirt and debris, then apply the cleaner evenly using a scrub brush or roller. Allow the cleaner to penetrate for the instructed amount of time before rinsing it off with a hose or pressure washer.
Repairing Damaged Areas
Check the deck for any damaged or rotten wood. Replace any open or broken boards and hammer in any popped nails. If there are signs of rot, it’s important to remove and replace the affected deck boards to prevent further structural damage.
Sanding the Surface
Once the deck is clean and dry, it’s time to sand the surface to smooth out any rough spots, splinters, or stains. Start with coarse-grit sandpaper and gradually move to finer grits to achieve a smooth finish. Be sure to sand with the grain of the wood to avoid creating unnecessary scratches.
Applying a Stain or Sealer
After sanding, it’s essential to protect the wood surface with a stain or sealer. Choose a product that is specifically made for outdoor wood and offers protection against UV rays, moisture, and mildew. Apply the stain or sealer using a roller or brush, following the manufacturer’s instructions for the number of coats and drying times.
Regular Maintenance
Regular maintenance is key to keeping your deck looking stunning. Clean up any spills or stains promptly. Inspect the deck for signs of wear, such as fading or peeling, and reapply a fresh coat of stain or sealer as needed. Additionally, consider applying a protective coating every few years to provide added durability and longevity.
By taking the time to restore and maintain the wood surface of your deck, you can enjoy its functionality for years to come.
Remember to follow the proper cleaning, repairing, sanding, and sealing techniques for optimal results.
Repairing and Replacing Damaged Decking Boards
One of the common issues that deck owners face is the need to repair or replace damaged decking boards. Over time, boards can become worn, warped, or even rot due to exposure to harsh weather conditions or regular wear and tear.
To ensure the longevity and safety of your deck, it’s essential to address any damaged boards promptly.
Here are some tips and tricks to help you with repairing or replacing your decking boards effectively:
Inspect and Identify
Begin by thoroughly inspecting your deck to identify any damaged or weakened boards. Look for signs of cracking, splitting, rotting, or discolouration. Pay special attention to areas that are exposed to moisture, such as near the ground or close to water sources. If you’re unsure about the extent of the damage, consider seeking professional advice.
Remove the Damaged Boards
Once you’ve located the damaged boards, carefully remove them. Start by removing any screws or nails that are securing the boards in place. If the boards are fastened with hidden fasteners, follow the manufacturer’s instructions for removal. To prevent damage to the surrounding boards, take your time and be cautious during this process.
Replace with New Boards
After removing the damaged boards, you’ll need to replace them with new ones. Choose decking boards that match the material, size, and style of your existing deck. Measure and cut the new boards to fit the required length.
Preventative Steps
To prevent future damage, it’s crucial to take preventative steps. Apply a water-resistant sealant or stain to protect the deck’s surface from moisture and UV rays. Regularly clean and sweep your deck to remove debris or leaves that can cause moisture buildup and ultimately damage the boards.
Proper Installation
When replacing or installing new decking boards, ensure that you follow the manufacturer’s guidelines and use the appropriate fasteners. Properly fastening the boards is essential for stability and to prevent future issues. If you’re unsure about the installation process, it’s advisable to hire a professional deck builder.
Regular Maintenance
To maintain the longevity of your deck, regularly inspect and maintain your decking boards. Check for any signs of damage, such as protruding nails, splintering, or cracking. Make necessary repairs promptly to prevent further deterioration.
Remember, it’s essential to address damaged decking boards promptly to avoid safety hazards and costly repairs in the future. Regular maintenance, proper installation, and preventive measures will help you enjoy your deck for years to come.
Conclusion
In conclusion, restoring your deck can be a time-consuming but rewarding process. By following the tips and tricks, you can bring new life to your deck and ensure its longevity for years to come.
Before starting the decking restoration Melbourne process, it is important to thoroughly inspect your deck for any structural damage and address it accordingly. This will ensure a solid foundation for your restoration efforts.
With proper maintenance, your restored deck will provide a stunning and functional space for entertainment and relaxation for years to come.


